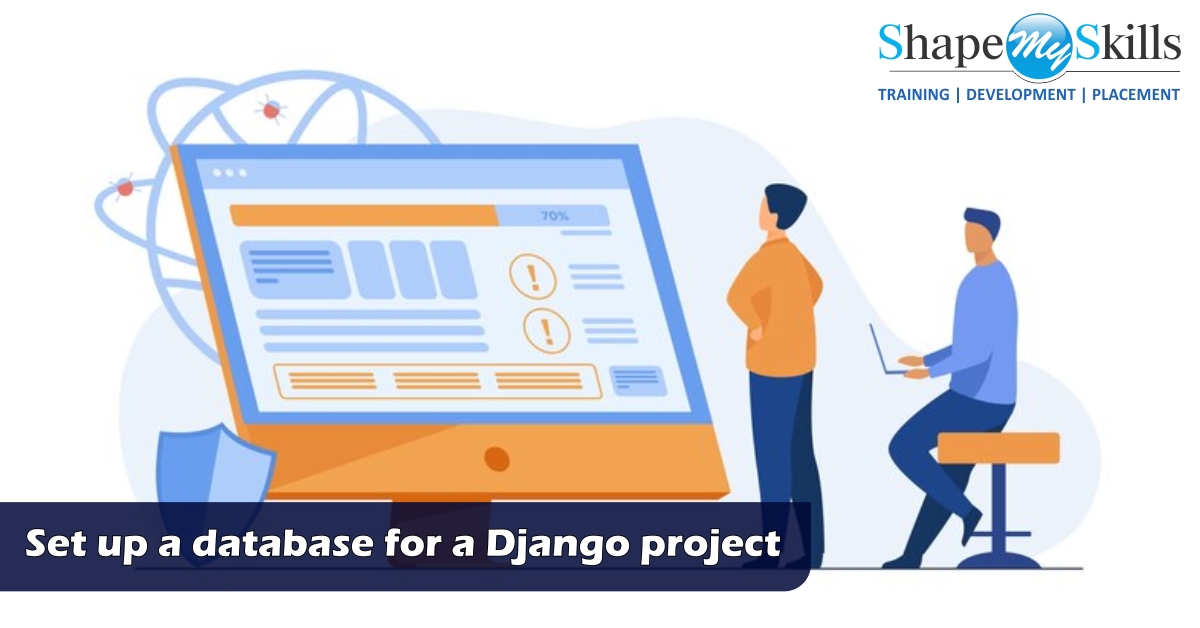
Set up a database for a Django project
- May 30, 2022
- Posted by: admin
- Category: Computer Science Django

Set Up A Database For A Django Project
Introduction
Out of the box, Django is set up to talk to SQLite, which is a small relational database that comes with the Python distribution. So, by default, Django will connect your project to an SQLite database. Join the Django Training institute for more information.
Configure the Database:
Step 1: Use pgAdmin to Create a Database
The Postgresql database engine was set up in the last lesson. pgAdmin is one of the tools set up when this is done. You can use this tool to manage the database. You can use this tool to make a database, among other things. In this step, you’ll do just that.
- Look for the pgAdmin application on your Mac or Windows computer. PostgreSQL was used to set this up.
- When you open this app, use the “Object Browser” to expand the nodes until you see the “localhost” connection. There could be a red “x” on it. Click it twice
- Type in the password when asked (you chose this password during installation)
- Give it a name in the box that says “New Database…” Let the other settings stay as they are.
Step 2: Configure Settings.py Database Settings
In this step, you will set up the database in the settings file for Django. Django needs to know a few things about the database, like what engine is being used, the name of the database, and the password used to access it. Follow these steps to set these options.
- In your IDE, open the settings.py file
- Find the DATABASES option and set it up.
Step 3: Commit the Initial Migration
In Django 1.7, the database is managed by a brand-new system. Changing database schemas is much easier with this system than with older versions of Django. Most migrations take place in two steps. You will learn how to do both migration steps in later chapters. But when you first set up the project, you only need to run one of the steps.
Use your terminal or command prompt to run these commands. Before giving these commands, make sure the virtual environment is running. Join Django Training in Noida to learn more.
Step 4: Create the Superuser
Projects that use Django need a “superuser.” This user will be in charge of everything in Django, so it’s essential to set this up. You can use a simple password in your development environment, but it’s necessary to use a strong password on production systems.
Step 5: Commit Changes
Use these commands to tell Git to save your changes.
Conclusion
Students and professionals who want to become good web developers and improve their skills in this field should go to ShapeMySkills Pvt Ltd institute for Django Training in Delhi. With Django, making websites is bright and easy, and fun.